In this hands-on tutorial, we will take a look at how we can use Yew to build web applications. Yew is a modern Rust framework for building front-end web apps using WebAssembly. Yew encourages a reusable, maintainable, and well-structured architecture by leveraging Rust's powerful type system. A large ecosystem of community-created libraries, known in Rust as crates, provide components for commonly-used patterns such as state management. Cargo, the package manager for Rust, allows us to take advantage of the numerous crates available on crates.io, such as Yew.
Rustconf is an intergalactic gathering of the Rust community that happens annually. Rustconf 2020 had a plethora of talks that provided a good amount of information. In this hands-on tutorial, we will be building a web application to help fellow Rustaceans get an overview of the talks and watch them all from one page.
This tutorial assumes you are already familiar with Rust. If you are new to Rust, the free Rust Book offers a great starting point for beginners and continues to be an excellent resource even for experienced Rust developers.
Ensure the latest version of Rust is installed by running rustup update or by installing rust if you have not already done so.
After installing Rust, you can use Cargo to install trunk by running:
cargo install trunk
We will also need to add the WASM build target by running:
To verify the Rust environment is set up properly, run the initial project using the cargo build tool. After the output about the build process, you should see the expected "Hello, world!" message.
Run the following command to build and serve the application locally.
trunk serve --open
info
Remove option '--open' to not open your default browser trunk serve.
Trunk will open your application in your default browser, watch the project directory and helpfully rebuild your application if you modify any source files. This will fail if the socket is being used by another application. By default server will be listening at address '127.0.0.1' and port '8080' => http://localhost:8080. To change it, create the following file and edit as needed:
Trunk.toml
[serve]
# The address to serve on LAN.
address = "127.0.0.1"
# The address to serve on WAN.
# address = "0.0.0.0"
# The port to serve on.
port = 8000
If you are curious, you can run trunk help and trunk help <subcommand> for more details on what is happening.
Yew makes use of Rust's procedural macros and provides us with a syntax similar to JSX (an extension to JavaScript which allows you to write HTML-like code inside JavaScript) to create the markup.
Since we already have a pretty good idea of what our website will look like, we can simply translate our mental draft into a representation compatible with html!. If you are comfortable writing simple HTML, you should have no problem writing marking inside html!. It is important to note that the macro does differ from HTML in a few ways:
Expressions must be wrapped in curly braces ({ })
There must only be one root node. If you want to have multiple elements without wrapping them in a container, an empty tag/fragment (<> ... </>) is used
Elements must be closed properly.
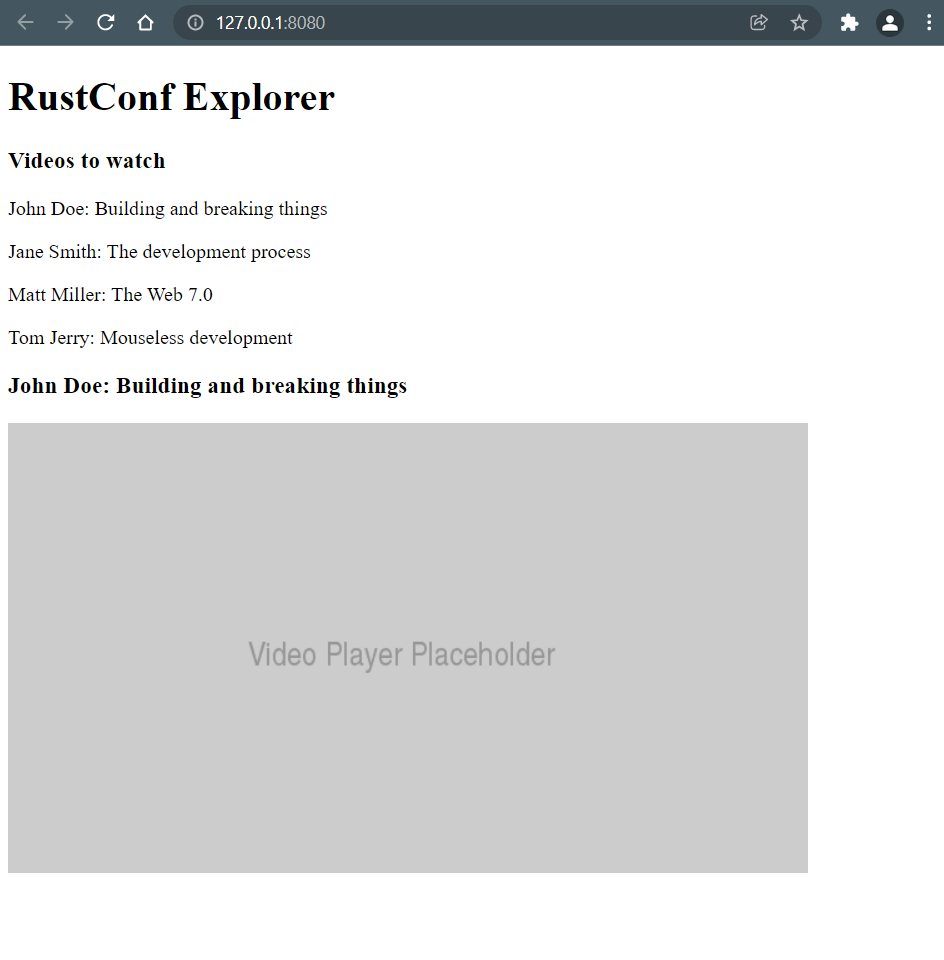
We want to build a layout that looks something like this in raw HTML:
<h1>RustConf Explorer</h1><div><h3>Videos to watch</h3><p>John Doe: Building and breaking things</p><p>Jane Smith: The development process</p><p>Matt Miller: The Web 7.0</p><p>Tom Jerry: Mouseless development</p></div><div><h3>John Doe: Building and breaking things</h3><imgsrc="https://placehold.co/640x360.png?text=Video+Player+Placeholder"alt="video thumbnail" /></div>
Now, let's convert this HTML into html!. Type (or copy/paste) the following snippet into the body of app function such that the value of html! is returned by the function
#[component]fnApp()-> Html{html!{<><h1>{"RustConf Explorer"}</h1><div><h3>{"Videos to watch"}</h3><p>{"John Doe: Building and breaking things"}</p><p>{"Jane Smith: The development process"}</p><p>{"Matt Miller: The Web 7.0"}</p><p>{"Tom Jerry: Mouseless development"}</p></div><div><h3>{"John Doe: Building and breaking things"}</h3><img src="https://placehold.co/640x360.png?text=Video+Player+Placeholder" alt="video thumbnail"/></div></>}}
Refresh the browser page, and you should see the following output displayed:
A big advantage of writing markup in Rust is that we get all the coolness of Rust in our markup. Now, instead of hardcoding the list of videos in the HTML, let's define them as a Vec of Video structs. We create a simple struct (in main.rs or any file of our choice) that will hold our data.
Components are the building blocks of Yew applications. By combining components, which can be made of other components, we build our application. By structuring our components for re-usability and keeping them generic, we will be able to use them in multiple parts of our application without having to duplicate code or logic.
The app function we have been using so far is a component, called App. It is a "function component". There are two different types of components in Yew.
Struct Components
Function Components
In this tutorial, we will be using function components.
Now, let's split up our App component into smaller components. We begin by extracting the videos list into its own component.
#[derive(Properties, PartialEq)]structVideosListProps{videos:Vec<Video>,
}#[component]fnVideosList(VideosListProps { videos }: &VideosListProps)-> Html{html!{for video in videos {<p key={video.id}>{format!("{}: {}", video.speaker, video.title)}</p>}}}
Notice the parameters of our VideosList function component. A function component takes only one argument which defines its "props" (short for "properties"). Props are used to pass data down from a parent component to a child component. In this case, VideosListProps is a struct that defines the props.
important
The struct used for props must implement Properties by deriving it.
Now, we can update our App component to make use of VideosList component.
#[component]fnApp()-> Html{// ...
html!{<><h1>{"RustConf Explorer"}</h1><div><h3>{"Videos to watch"}</h3><VideosList {videos}/></div>// ...
</>}}
By looking at the browser window, we can verify that the lists are rendered as they should be. We have moved the rendering logic of lists to its component. This shortens the App component's source code, making it easier for us to read and understand.
The final goal here is to display the selected video. To do that, VideosList component needs to "notify" its parent when a video is selected, which is done via a Callback. This concept is called "passing handlers". We modify its props to take an on_click callback:
Then we modify the VideosList component to "emit" the selected video to the callback.
#[component]-fnVideosList(VideosListProps { videos }: &VideosListProps)-> Html{+fnVideosList(VideosListProps { videos, on_click }: &VideosListProps)-> Html{leton_select=|video:&Video|{let on_click = on_click.clone();let video = video.clone();Callback::from(move|_|{ on_click.emit(video.clone())})};html!{for video in videos {<p key={video.id} onclick={on_select(video)}>{format!("{}: {}", video.speaker, video.title)}</p>}}}
Next, we need to modify the usage of VideosList to pass that callback. But before doing that, we should create a new component, VideoDetails, that is displayed when a video is clicked.
Remember the use_state used earlier? That is a special function, called a "hook". Hooks are used to "hook" into the lifecycle of a function component and perform actions. You can learn more about this hook, and others here.
note
Struct components act differently. See the documentation to learn about those.
In a real-world application, data will usually come from an API instead of being hardcoded. Let's fetch our videos list from an external source. For this we will need to add the following crates:
We are using unwraps here because this is a demo application. In a real-world app, you would likely want to have proper error handling.
Now, look at the browser to see everything working as expected... which would have been the case if it were not for CORS. To fix that, we need a proxy server. Luckily trunk provides that.
Update the following line:
let fetched_videos:Vec<Video>=Request::get("/tutorial/data.json")
This application is very far from perfect or useful. After going through this tutorial, you can use it as a jumping-off point to explore more advanced topics.
Our apps look very ugly. There is no CSS or any kind of style. Unfortunately, Yew does not offer a built-in way to style components. See Trunk's assets to learn how to add style sheets.